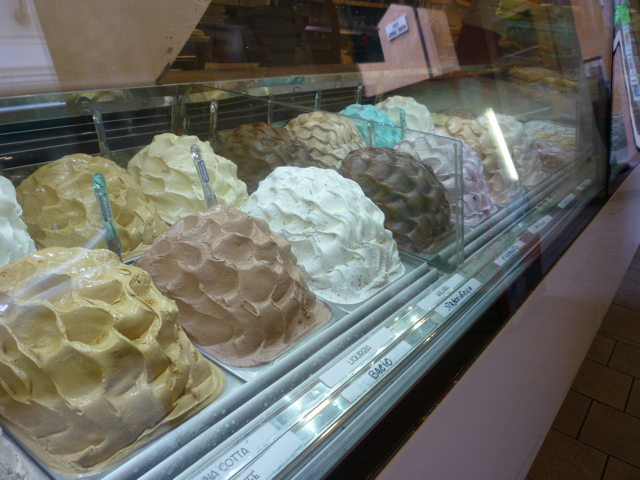
All across my travels in Italy, I see breads and sweets designed to please the eye as well as the palate. From the intricate marzipan of Sicily to the care the gelato vendors in Sirmione take to display their wares each morning, the attention to detail is a pleasure to behold. During our Italiaoutdoors Food and Wine culinary bike tours, we have a bit of fun with this ourselves, when we make a surprisingly simple apple dessert, enclosing a whole apple in puff pastry.
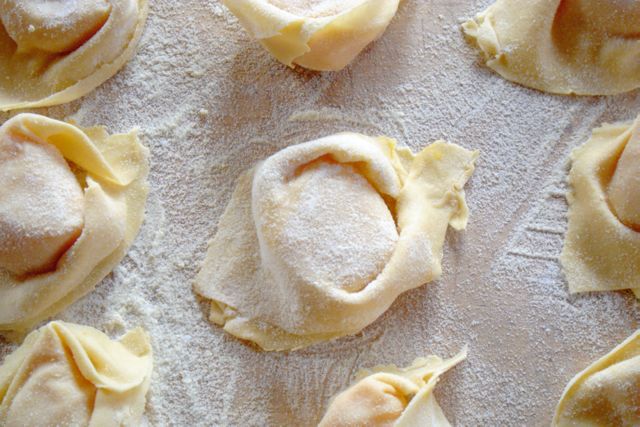
Decorating with sweets has been a part of Italian cuisine since the 16th century. Even before this time, the shapes of breads and all the many shapes and sizes of pastas were not just random, but often created to replicate something – be it the rounded shape of panettone in honor of the church domes of Lombardy, to the scroll shaped X of the Coppia Ferrarese breads, alluding to the adventures of the Duke of Ferrara, to the cappellacci pasta, named for their resemblance to straw hats worn at the time.
Sugar was first introduced to Europe in the 1100’s, but was initially so scarce that it was enjoyed only by the nobility, and was often hoarded and used as a form of money rather than consumed. Following the discovery of America, where the islands of the Caribbean proved to be a fertile climate for the production of sugar cane, sugar supplies increased significantly and it was no longer reserved for the wealthy.
 My last post mentioned the elaborate banquets of the Italian Renaissance nobility. Sugar was still a prized ingredient at this time, and so would take center stage as a symbol of wealth at such an event. In addition to being used in pastries and cakes, sugar was often mixed with egg whites to create sugar sculptures of all sizes: from small table decorations to actual statues. According to the Barilla pasta web site, which has a nice collection of recipes, “the Venetian credenzieri were expert sugar sculptors and were able to turn sugar into real works of art. In fact, in 1574, Henry III of France was the guest of honor at a Venetian banquet, but didn’t realize that the entire table was made of sugar, from the cutlery to the food itself. Apparently he picked up what he believed to be a napkin and broke it in half.”
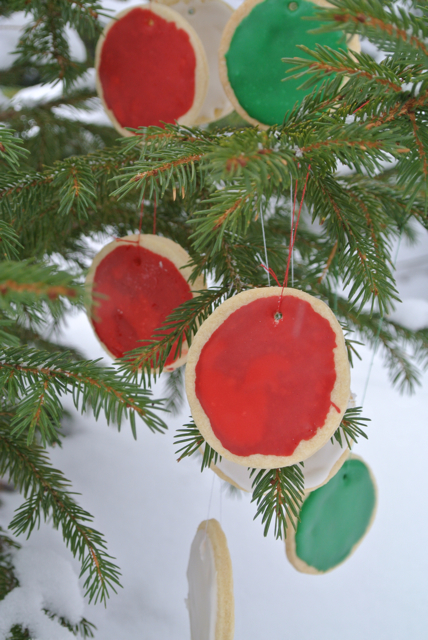
As a trained chef, but a simple cook at heart, I appreciate the skill that goes into this, but personally don’t practice it. The one time of year I indulge a bit is the holiday season. I make several types of Christmas cookies, and enjoy sharing an attractive assortment with friends. This same page on the Barilla web site offered a simple almond cookie recipe that you can decorate and hang on your Christmas tree, or just enjoy with a glass of prosecco or a sweet wine like Torcolato after a holiday meal. I’ve adapted this quite a bit – I liked the concept, but not the recipe, which made these by hand rather than in a mixer. If you prefer to eat the cookies rather than hang them on your tree, I would suggest decorating them with sugar or another frosting. The Royal Icing recipe below is ideal for decorating as it gets nice and hard, but frankly doesn’t taste good. I suspect the napkins at the Venetian banquet for Henry III weren’t particularly tasty either.
Makes 2 1/2 dozen 2 inch cookies
5 ounces butter (1 stick, plus 2 tablespoons), room temperature
1/4 cup granulated sugar
1 egg yolk
1 1/4 cups all purpose flour
1/4 cup finely ground blanched almonds (if you are making these only as decorations, you can omit this and use 1 1/2 cups all purpose flour)
1/8 teaspoon salt
Cold water
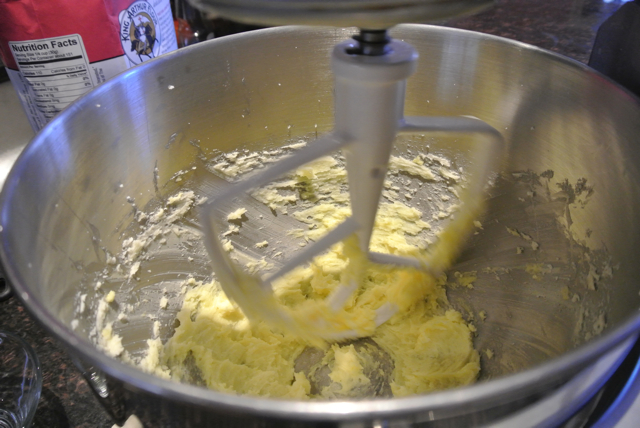
Cream together the butter and the sugar on medium speed, until the mixture is light and fluffy. Stop the mixer occassionally to scrape the sides down with a rubber spatula. Beat in the egg yolk at medium speed for 2 to 3 minutes, or until thoroughly combined. Scrape the sides of the bowl again.
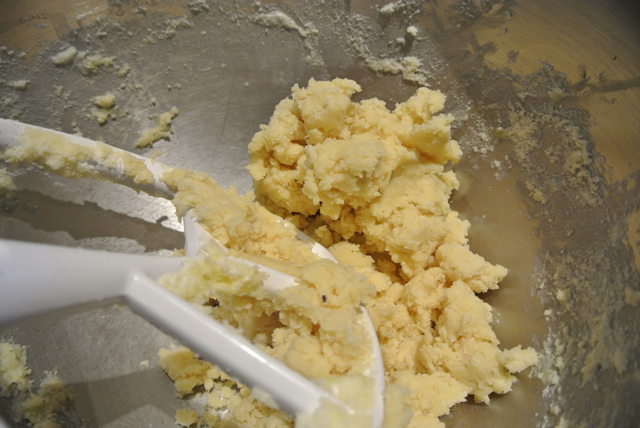
Place the flour, ground almonds and salt in a small bowl, and stir to combine the flour. With the mixer on low speed, add the flour mixture, and mix just until the dry ingredients are totally incorporated, scraping down the sides if needed. The mixture should come together into a single mass of dough. If it does not, add a bit of cold water, about one tablespoon at a time, until it does. Remove the dough from the bowl, wrap in plastic wrap, and refrigerate for 15 minutes.
Preheat the oven to 300°.
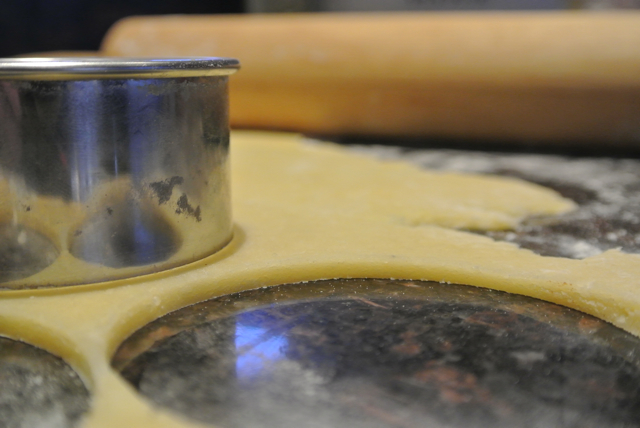
Remove the dough from the refrigerator. If it has been refrigerated for a long period of time, allow to warm a bit before rolling. On a floured surface, roll out the dough to 1/4 inch thickness. If you are using these as decoration, err on the side of thicker rather than thinner, as you don’t want these to be too fragile. Use a cookie cutter to shape your cookies. Place the cookies on a non-stick sheet pan.
If you are making ornaments, use a straw or skewer to poke a hole in the top of each cookie. Make sure the hole is wide enough for whatever you plan to use to hang the ornament from the tree. You will need a wider hole for ribbon, a narrower hole will be fine for thread or a wire hanger. I used a thick piece of bucatini pasta, and left it in while the cookies baked to ensure the hole will not close over during baking.
If you are making these to eat, sprinkle with granulated or colored sugar.
Bake for 10-15 minutes, until they are just beginning to brown on the edges.
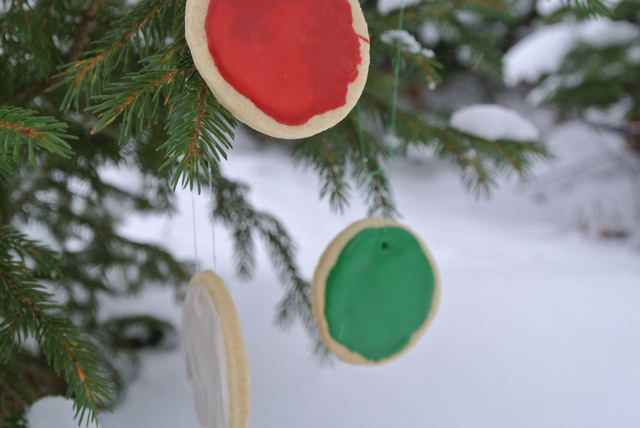
If you are making ornaments, allow to cool and then decorate with Royal Icing.
Royal Icing
1 egg white
2 cups confectioner’s sugar
Using a whisk attachment, beat the egg white until stiff peaks form when the whisk is removed from the whites. Add the sugar, and beat until combined. If the icing is too thick, you can thin it by adding a bit of water.
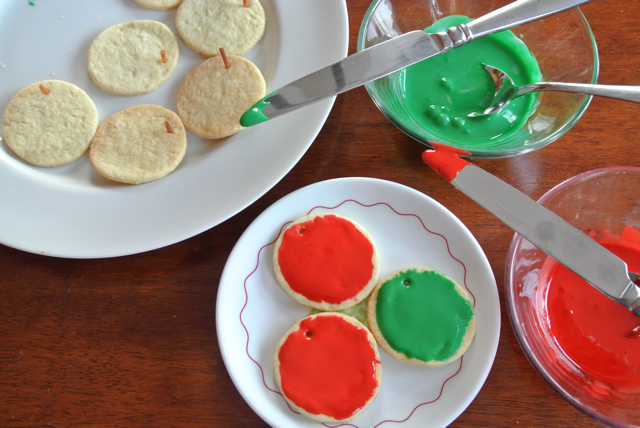
If desired, add food coloring to make red or green ornaments. Ice the cookies, keeping the icing covered as you work – the icing hardens fairly quickly. Keep a toothpick or skewer nearby to clear the holes of icing after coating the cookie. Once the cookies are dry, place a ribbon or string through the hole of each, and hang them on your Christmas tree!
