Ferrara? Said my girl friends when I had suggested it. We were looking for a place to meet up in Italy after one of our Italiaoutdoors Food and Wine bike tours in the Veneto. They’d never heard of Ferrara. As I am constantly discovering, there is so much more in Italy than the main tourist spots of Tuscany, Rome, and Florence. Wonderful cities and town where you can explore without the crowds of tourists, eat well, and enjoy amazing new wines you’ve never seen on shelves in the US.
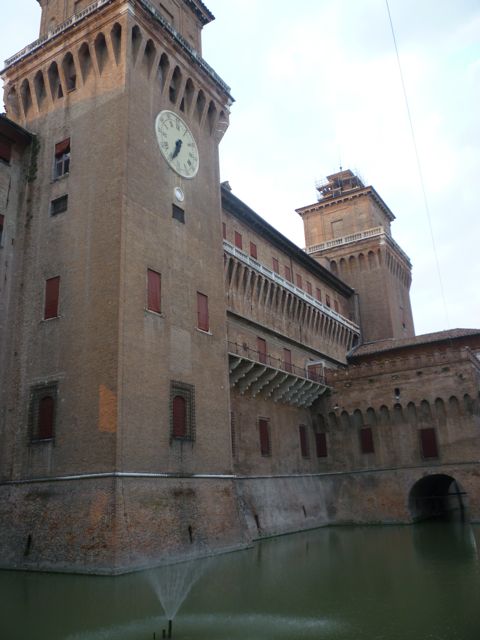
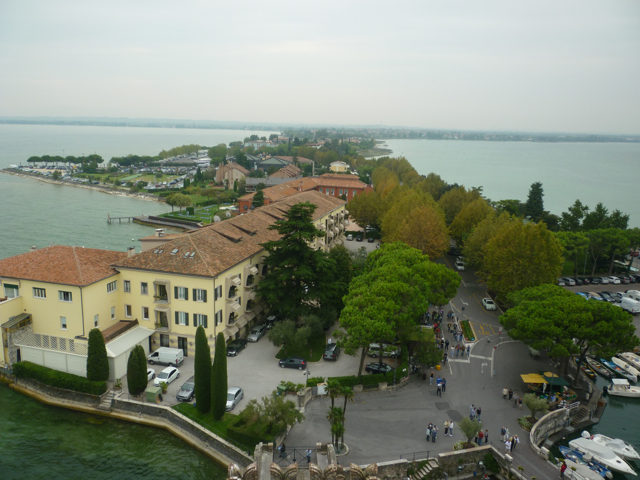
Ferrara is the capital of the province of Ferrara, in the region of Emilia-Romagna, about 50 km northeast of Bologna. The center of town is dominated by the Castello Estense, a brick castle complete with moat, and home to the rulers of Ferrara, the Este family. The Este family ruled Ferrara for close to 400 hundred years, and during their reign Ferrara became a center for art and culture, and was one of the first examples of Renaissance city planning earning today it’s status as a UNESCO World Heritage site. The notorious Lucretia Borgia was married to the Duke of Ferrara, Alfonso I, and spent most of her life here in Ferrara, and is buried here as well.
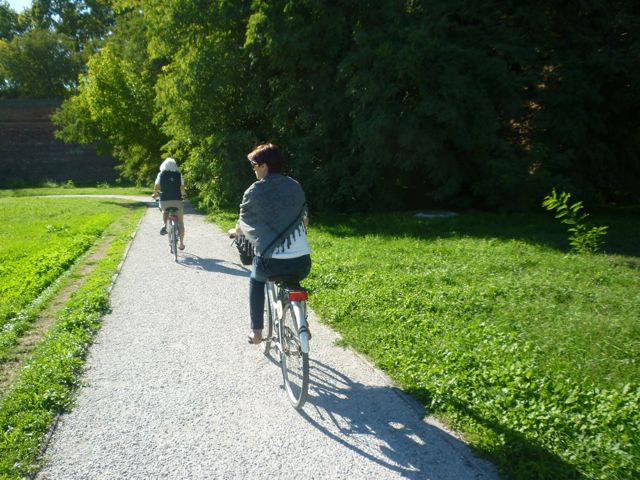
Ferrara is surrounded by some of the best preserved ancient city walls in Italy, dating from the 15th and 16th century. Today, 9 km of cycling and walking paths follow these walls, where you will often find the residents of this “Citta delle Biciclette” enjoying the outdoors along these quiet tree-lined paths.
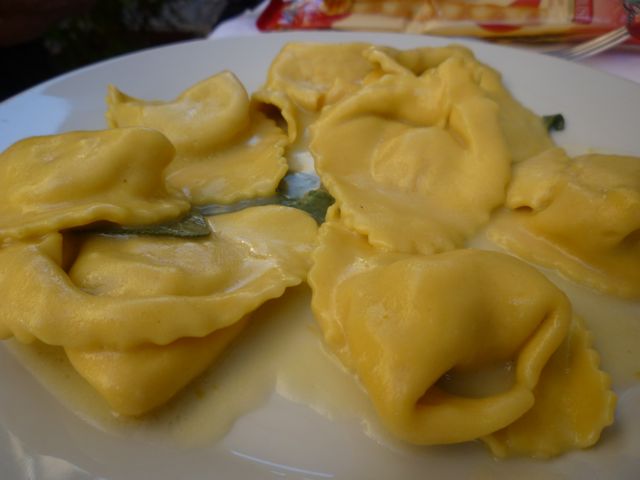
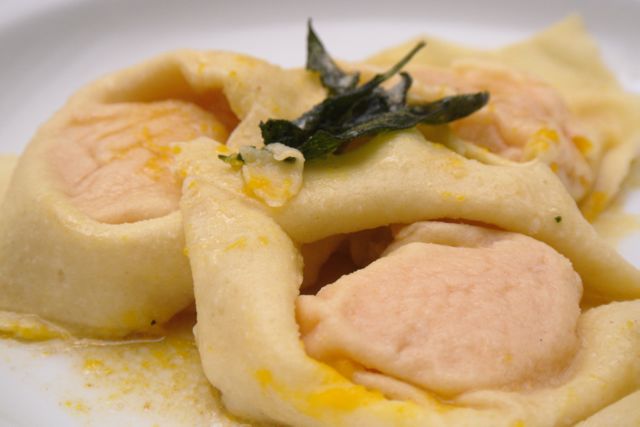
After a nice late afternoon bike ride, we headed out for dinner to discover some of the favorite local dishes. The undisputed ‘signature’ first pasta course in Ferrara is cappellacci di zucca, a stuffed pasta with a filling of winter squash or pumpkin, Parmigiano-Reggiano and nutmeg. It is served two ways, either with a butter and sage sauce, or, interestingly enough, a meat ragu. Cappellacci di Zucca Ferraresi are mentioned in recipe books from the Renaissance, when these were prepared for the Este family.
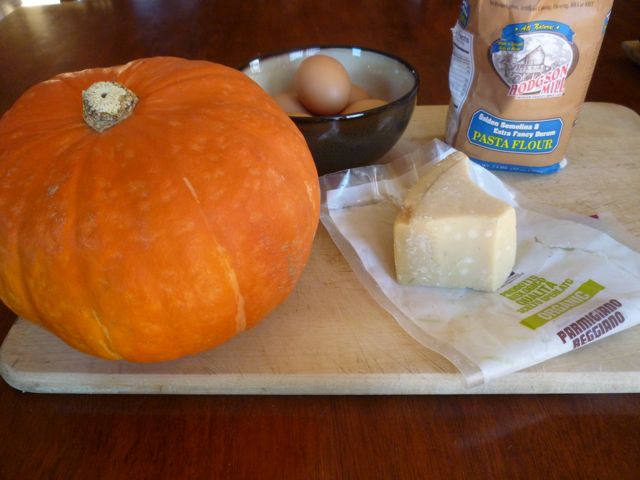
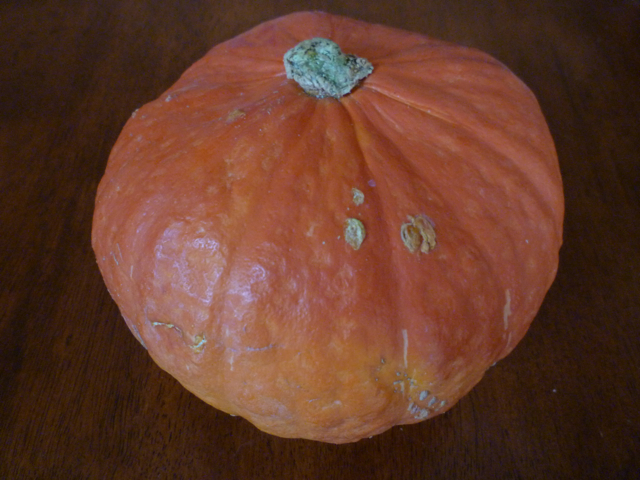
The name cappellacci – known as caplaz in the local dialect – comes from the pasta’s resemblance to the straw hats worn by local peasants. The pumpkin usually used is a favorite local variety, a violin shaped winter squash. In the Renaissance, the cooked squash would be flavored with ginger or pepper, as well as nutmeg, but today these aren’t as popular. This dish is currently awaiting IGP certification (Identificazione Geografica Protetta).
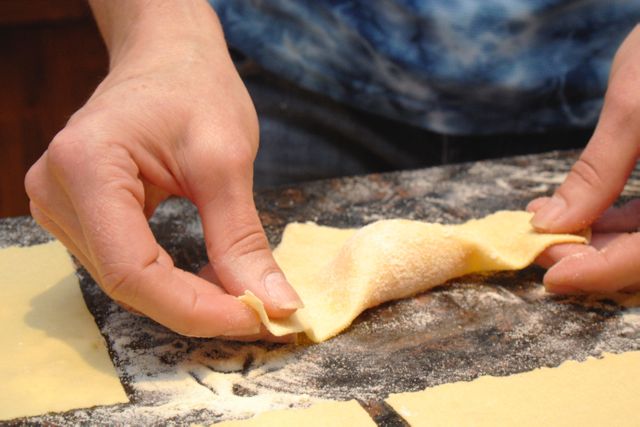
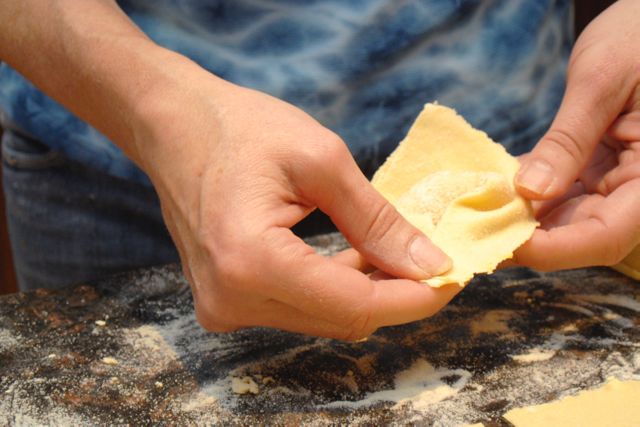
The recipe follows after lots of photos – I’ve included a series to show how you shape the cappellacci. But persevere past them all, and you will be rewarded with the recipe!
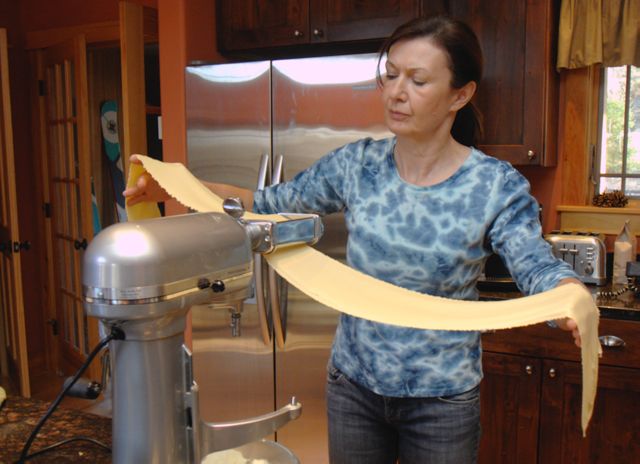
When we were home, my girlfriends and I relived our Italy vacation one evening, with a cooking class. I recreated several of our favorite dishes, and this was high on all of our lists. We had a fun night making our out cappellacci, it’s a great recipe to make with a group – the exaggerated size of these stuffed pastas make producing enough for a first course quick work!
Cappellacci di Zucca Ferraresi
Adapted from Lynn Rosetta Kasper’s book, A Splendid Table
Makes 30 pieces – serves 6 as a first course
Pasta:
5 eggs
3 1/2 cups all purpose or pasta flour (14 ounces), plus more for dusting
FIlling:
1 tablespoon vegetable oil
2 1/4 lbs. butternut or other flavorful winter squash or pumpkin
1 cup (4 ounces) freshly grated parmigiano-reggiano cheese
Freshly grated nutmeg
Kosher salt and freshly ground black pepper
Sauce
5 to 7 tablespoons unsalted butter
1 bunch fresh sage leaves
2/3 to 1 cup freshly grated Parmigiano-Reggiano cheese
Kosher salt and freshly ground pepper
Making the dough:
Light, delicate pasta comes from working the dough as much as possible to develop the elasticity of the flour’s protein, or gluten. Kneading and then gradually rolling, stretching and thinning the dough lengthens the gluten strands, producing tender and resilient pasta. Shortcutting the process results in heavy noodles. There is nothing difficult here, but like any craft the pleasure of achievement comes from learning a few basics and then practicing. Take time to work the dough well and it will pay you back tenfold in dining pleasure.
Measuring the flour: Weighing the flour is preferable, but if no scale is available, spoon the flour from the sack into a measuring cup, and level with a knife. Do not tamp or tap the cup. A cup of all purpose flour filled this way will weigh approximately 4 ounces.
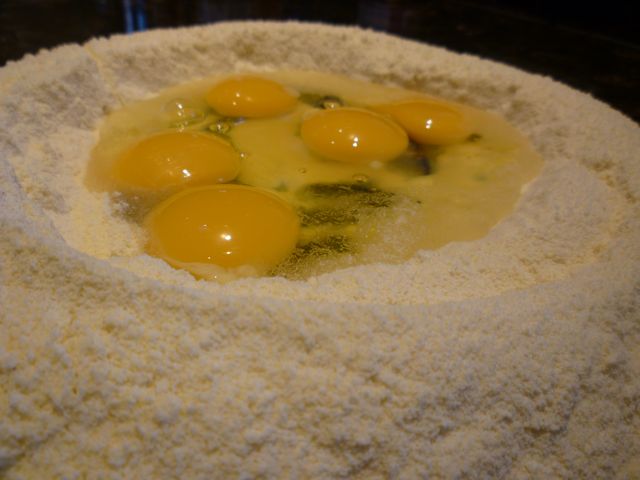
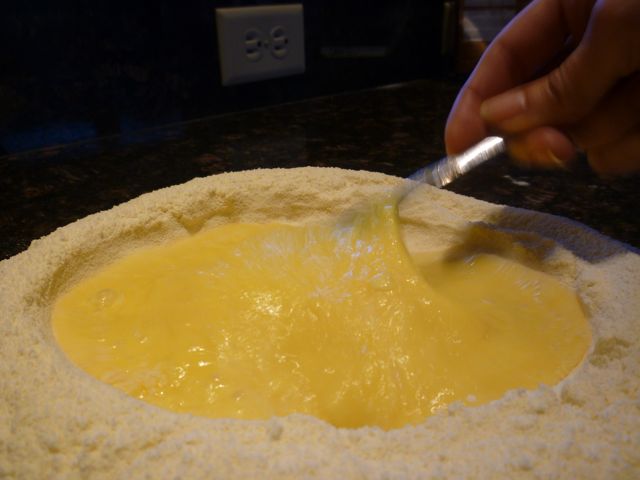
Mound the flour in the center your counter. Make a well in the middle. Add the eggs, and using a fork, beat until well mixed. Gradually start incorporating a bit of the flour from the sides of the well into the eggs. As you continue to work the flour into the eggs, the sides of the well may collapse. Use a pastry scraper to keep the liquids from running off and to incorporate the last bits of flour into the dough. Do not worry if it looks like a mess at this point!
With the aid of the scraper to scoop up any pieces, start kneading the dough. Once it becomes a cohesive mass, use the scraper to remove any bits of hard flour from the work surface. Knead the dough about 3 minutes. It should be elastic and a little sticky. If it is too sticky to move easily, knead in a few more tablespoons of flour. Continue kneading 10 minutes, or until the dough has become satiny, smooth, and very elastic. Poke your finger into the dough – if the indentation made by your finger does not disappear, continue to knead. Wrap the dough in plastic wrap and allow to rest at room temperature for 30 minutes to 3 hours. Skipping this rest step does not have much effect. according to Kasper.
Work with one fifth of the dough at a time, keeping the rest wrapped. Lightly flour the machine rollers and the work surface around the machine. Set the rollers at the widest setting. Flatten the dough into a thick patty. Guide it through the rollers by inserting one end into the space between the two rollers. Turn the crank handle with one hand while hold the upturned palm o your other hand under the sheet emerging from the rollers. Keep your palm flat to protect the dough from punctures by your fingers.
As the emerging sheet lengthens, guide it away from the machine with your palm. Pass the dough through the rollers five to six times, folding it in thirds each time. Then set the rollers at the next narrower setting and pass the dough through three times, folding it in half each time. Repeat, passing it through three times at each successively narrower setting. Repeated stretching and thinning builds up elasticity making especially light pasta. If the sheet becomes too long to handle comfortably, cut it in half or thirds and work the pieces in tandem.
Don’t worry if at first the dough tears, has holes, is lumpy, or is very moist. Just lightly flour it by pulling the dough over the floured work surface. As you keep putting it through the rollers, it will be transformed from slightly lumpy and possibly torn to a smooth, satiny sheet with fine elasticity.
Making the filling:
Preheat the oven to 375°F. Lightly oil a baking sheet. Cut the squash or squashes in half, scoop out the seeds and dispose of them. Place the halves cut side down on the sheet pan. Bake the squash for 1 hour, or until the squash are easily pierced with a knife. Allow to cool.
Scoop out the flesh of the squash. Place in a bowl, and mash with a potato masher. Stir in the cheese. Grate in a bit of nutmeg; just enough to give it a nice, soft taste, but be careful – it can quickly overwhelm the filling.
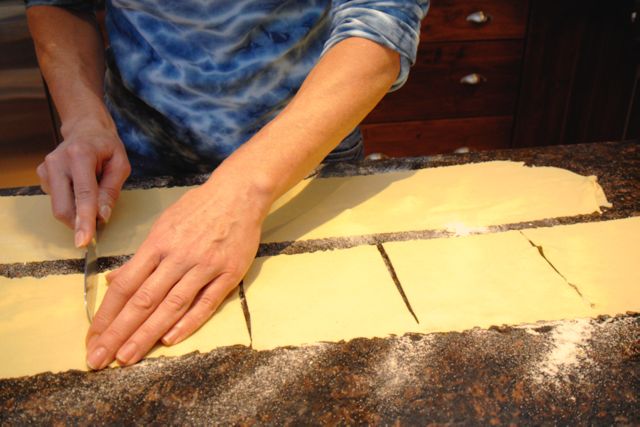
Roll out the pasta dough as described above, making it thin enough to see the orange squash through the sheet. Once rolled out, work with one sheet at a time, keeping the others covered with plastic wrap. Using a knife, cut 3 1/2 to 4 inch squares. Cut no more than 5 at a time to keep the dough from drying out.
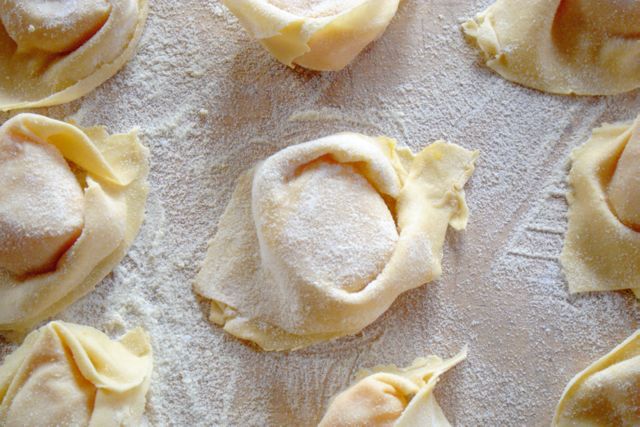
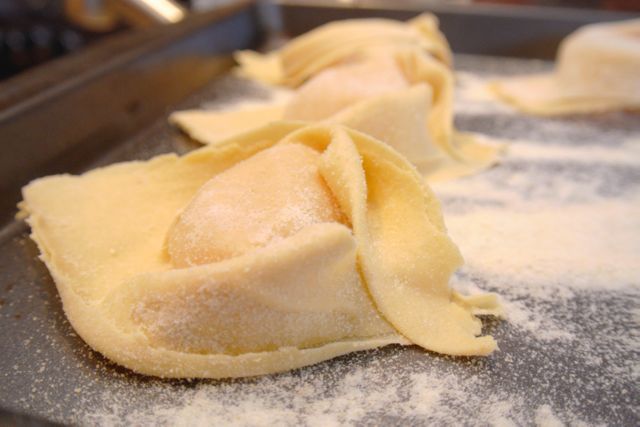
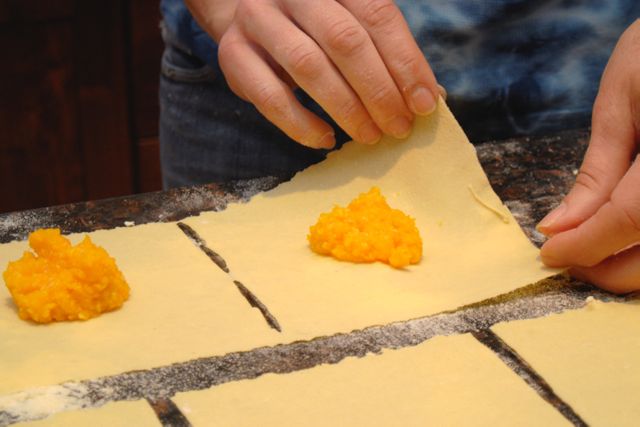
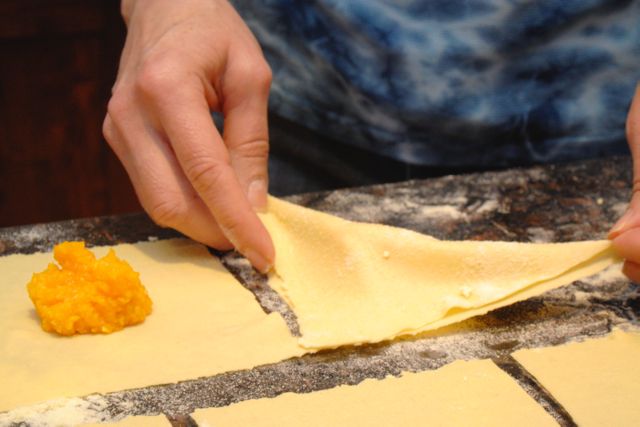
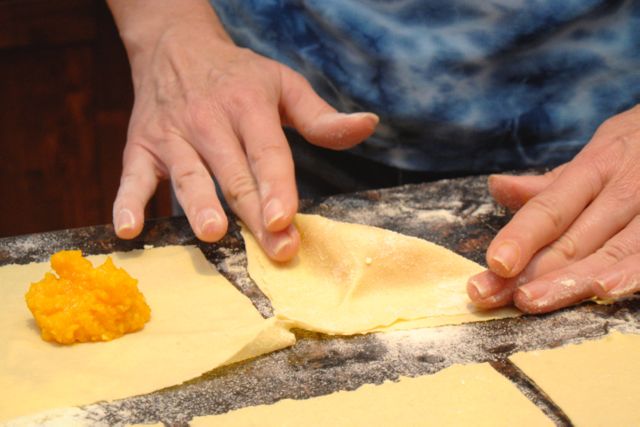
Place a generous spoonful of filling in the center of each square. Fold the square in half, forming a triangle, and force out the air as you seal the edges together. Moisten the edges with water or egg if necessary, to seal them. Then form an oversize tortellino by bringing the two ends together, folding one over the other and sealing. Place them on a baking sheet that has been sprinkled with flour or semolina, without touching each other. Continue filling and shaping until done.
Cooking and serving:
Melt the butter with about 20 or so sage leaves in a small saucepan. I like to brown the butter, it adds a wonderful nutty flavor, but that’s not commonly done in Italy. Set aside and keep warm. Warm the serving bowls. Fill a large pot with water and bring to a rapid boil over high heat. Salt. Drop in the cappellacci, cooking in batches so as not to overcrowd the pot. Cook for about 3 minutes, or until the edges of the pasta are tender but still firm to the bite. These are too fragile to drain in a colander. Instead, use a spider or large slotted spoon to gently scoop the cappellacci from the boiling water, allowing the water to drain. Place them in the warm serving bowls. Sprinkle with cheese, and top with a bit of the melted butter. Season with salt and pepper, and garnish with a few fresh sage leaves.
