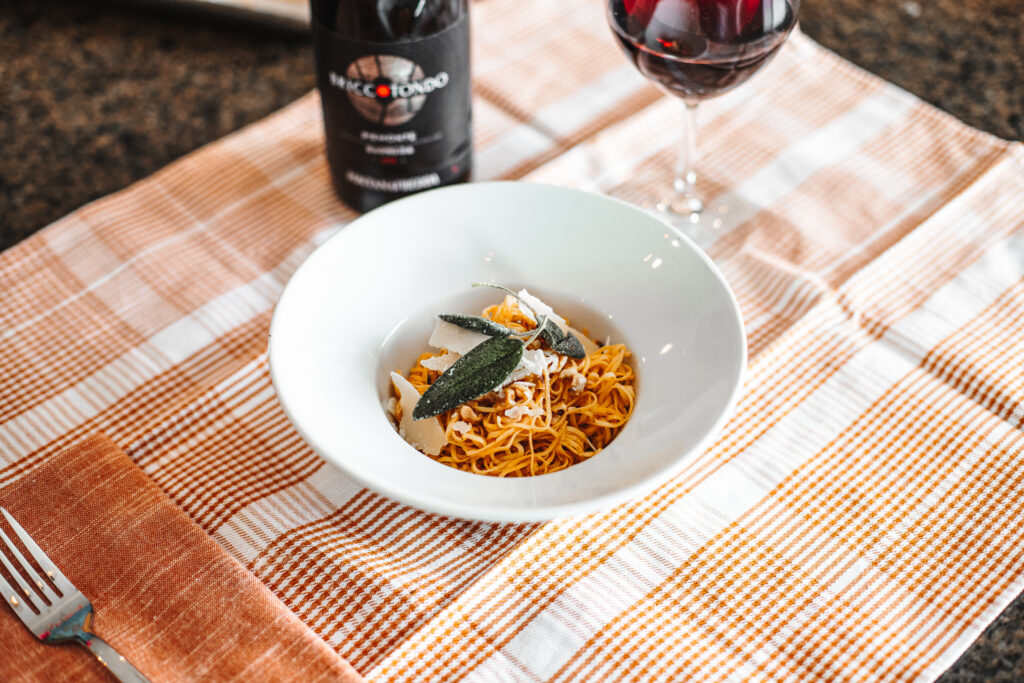
We are eagerly anticipating our return to Italy this fall with our Italiaoutdoors Food and Wine tours. In October we are leading a private group on a Barolo Walk and Wine tour in the spectacular Piedmont region. A week devoted exploring the lovely Langhe hills, home to the renowned Barolo and Barbaresco wines, as well as some of Italy’s most mouthwatering cuisine. On our list to experience, the local “spaghetti”, tajarin.
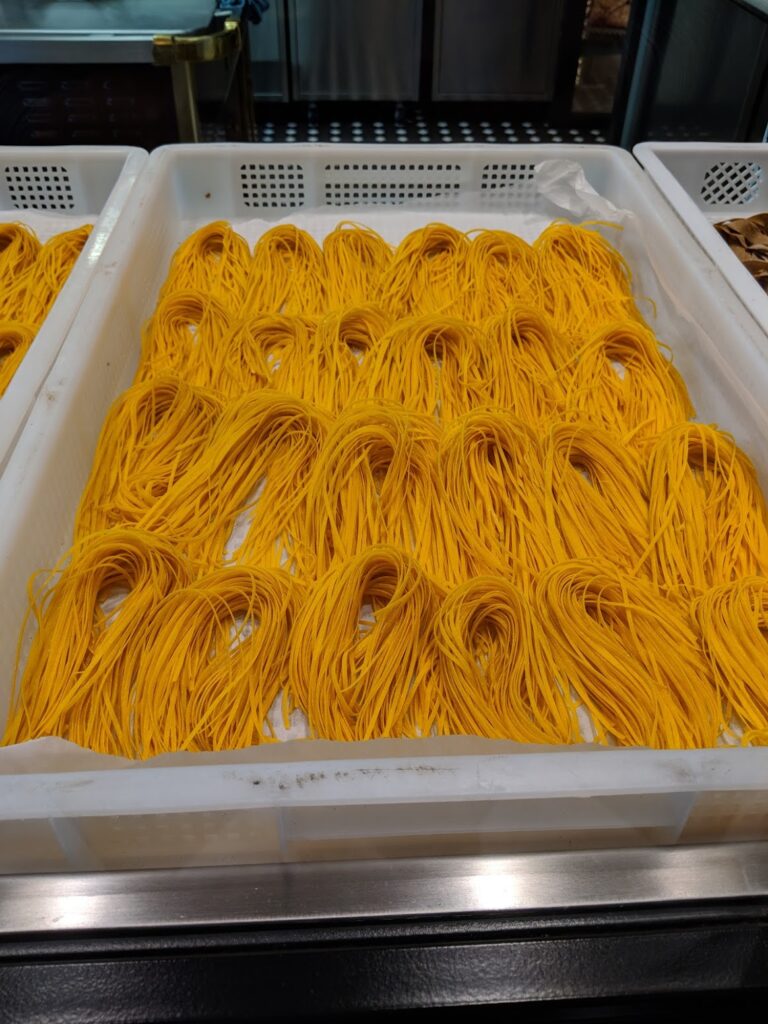
Tajarin, the Piedmontese dialect word for Tagliolini or Tagliarini, is a long, thin noodle, similar to spaghetti. But the shape is where the resemblance ends. Spaghetti is typically a “poor” dish, made from just flour and water. Tajarin is much richer, made not from water but egg yolks and a touch of olive oil. I recall the first time I ordered it, and received a dish of pasta that was a vibrant orange color. Egg yolks in Italy are a bright orange, (Eggs in Italy – Why is the Yolk Orange?) giving this pasta a distinctive hue.
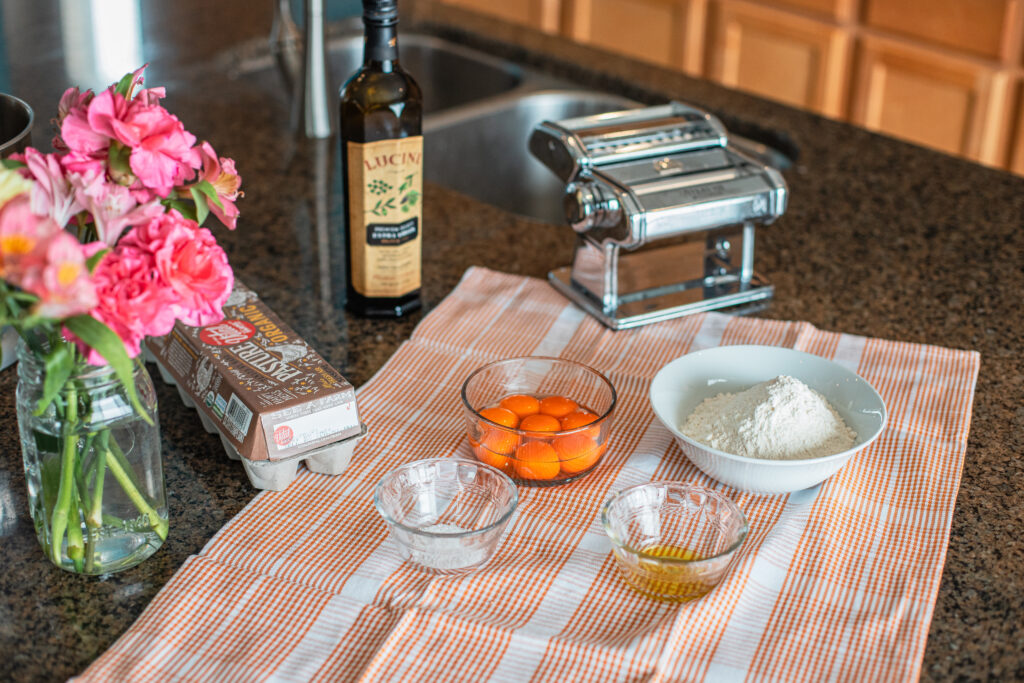
Tajarin pasta is made only with egg yolks, preferably “red egg yolks” to give it this characteristic color, using a very high ratio of yolks to flour – between 30 to 40 egg yolks to one kilogram flour. Traditionally, this fresh egg pasta is rolled out very thinly using a rolling pin and cut into strips with a maximum width of 1/5 to 1/4 inch using a knife.
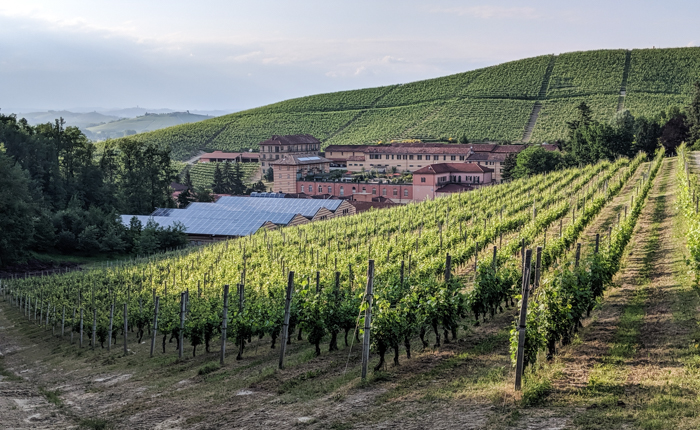
King Victor Emmanuel II was reputed to be a fan of this pasta. At Mirafiore, an estate just outside of Serralunga which served then as a hunting lodge for Victor’s father, Charles Albert, King of Sardinia and Duke of Savoy, fourteen-year-old Rosa Vercellana, a farmer’s daughter and unofficial cook for the estate, met then Crown Prince Victor Emmanuel. Her tajarin was reputed to be a family favorite. The two eventually began a long affair, as Victor Emmanuel was at the time married to Queen Adelaide, an Austrian archduchess. The affair resulted in two children, Emanuele Alberto and Vittoria. When his Queen died in 1855, the King named Rosa Countess of Mirafiore and Fontanafredda by royal decree in 1858, and recognized their two children. King Victor Emanuel II bequeathed his Mirafiore estate to his son and in 1878 Casa di E. Mirafiore was founded. Today, the estate known now as Fontanafredda, is a leading producer in the Barolo region, we will certainly enjoy tasting tajarin along with some of the amazing wines of Fontanafredda during our stay at this historic estate on our tour in October!
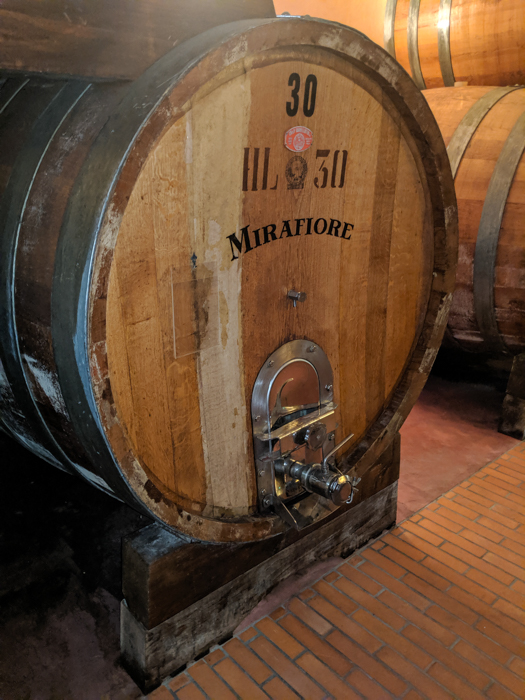
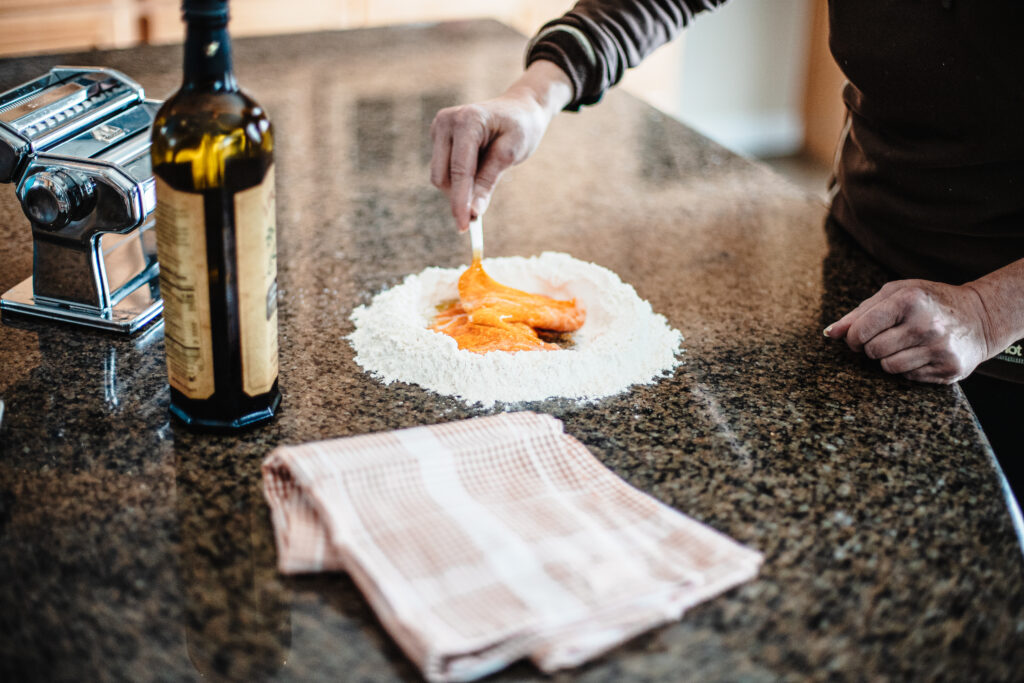
In the meantime, as we wait for our return to Italy, I adapted a traditional tajarin recipe to be a little more approachable, using modern equipment. This high-protein egg based recipe results in a very stiff dough that is challenging to work with. One recipe advised that beginners knead the dough for a least 40 to 50 minutes to achieve the right consistency. I put my KitchenAid mixer to work on the kneading instead, and used a pasta machine to roll it out and cut it. I bow to the expertise of the Italian nonnas – and Rosa Vercellana – who made this pasta by hand!
Give the amount of eggs used – which in the past would have been an expensive ingredient – this would have been a dish reserved for special occasions. Special occasions in Piedmont call for the “The King of Wines, the Wine of Kings,” a Barolo. But a Nebbiolo or a Barbera would work well too! This Briccotondo Barbera is a Fontanafredda wine.
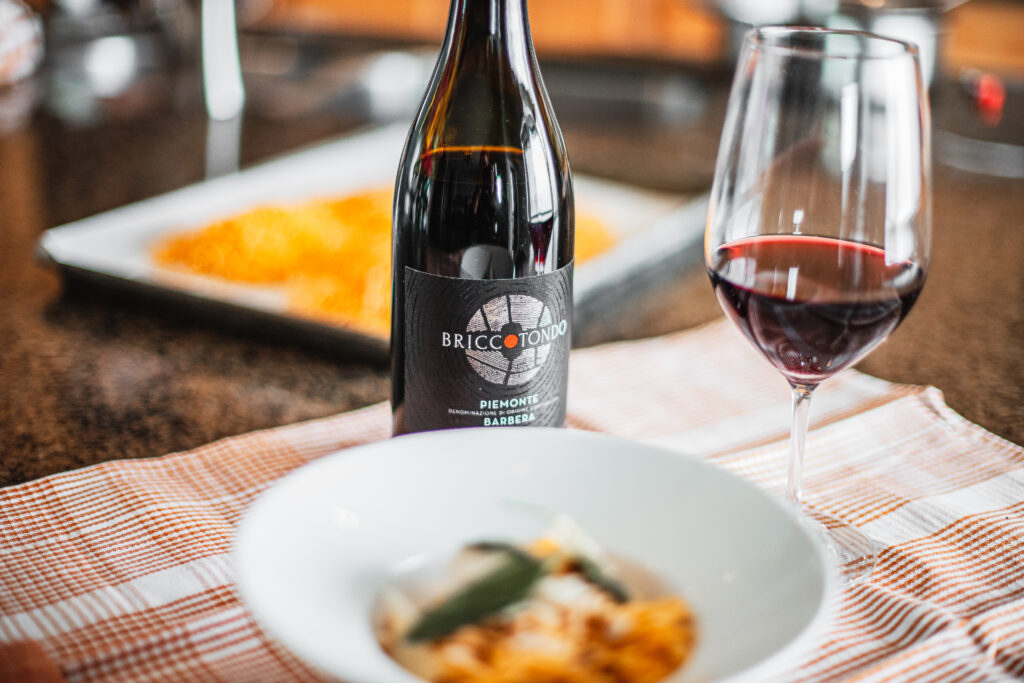
Tajarin with Brown Butter Sage Sauce
2 cups all-purpose flour
8 egg yolks, “red” yolks if possible
1 teaspoon extra virgin olive oil
1 pinch of salt
Mound flour on a clean flat surface and create a well in the center, pushing the flour to all sides to make a ring with sides about 1-inch wide. Make sure that the well is wide enough to hold all the eggs without spilling.
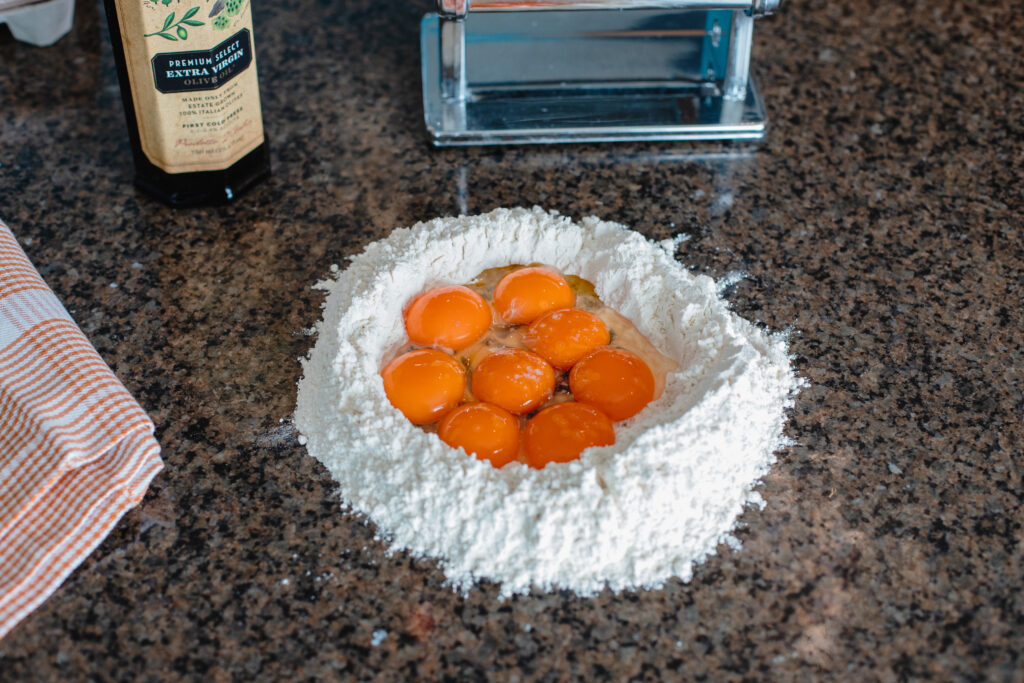
Pour the egg yolks, egg, oil and milk into the well. Use your fingers or a fork to break the eggs up. Still using a fork or your fingers, begin turning the eggs in a circular motion, keeping them within the well and not allowing them to spill over the sides. Using this circular motion, gradually pull in flour from the sides of the well; it is important that the flour not be incorporated into the eggs too rapidly, or dough will be lumpy. Keep moving the eggs while slowly incorporating the flour. Using a pastry scraper, occasionally push the flour toward the eggs; the flour should be moved only enough to maintain the gradual incorporation of the flour, and the eggs should continue to be contained within the well. The mixture will thicken and eventually get too tight to keep turning with your fingers.
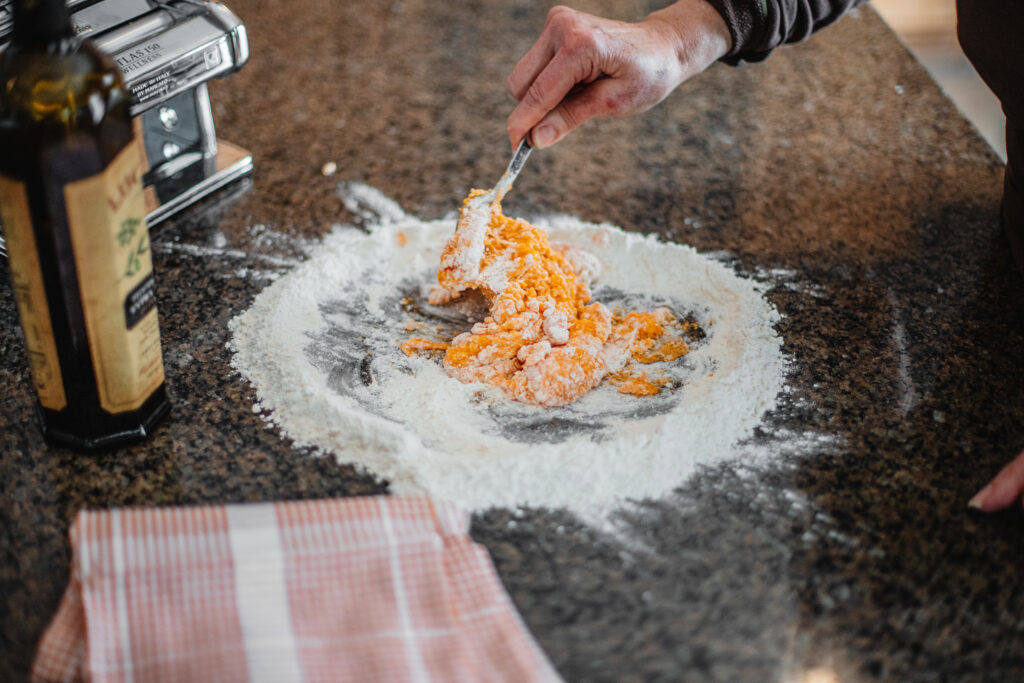
When the dough begins thickening and starts lifting itself from the board, begin incorporating the remaining flour with the pastry scraper by lifting the flour up and over the dough that’s beginning to form and cutting it into the dough. When the remaining flour from the sides of the well has been cut into the dough, the dough will still look shaggy. Bring the dough together with the palms of your hands and form it into a ball. It will look flaky but will hold together.
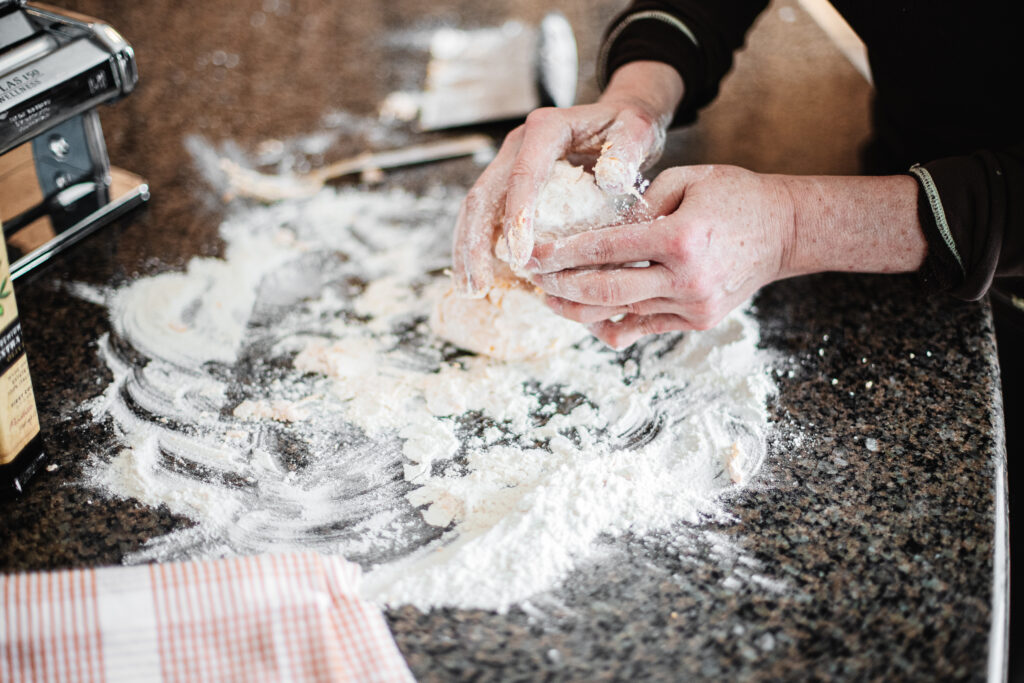
Knead the dough by pressing it, bit by bit, in a forward motion with the heels of your hands rather than folding it over on itself as you would with a bread dough. Re-form the dough into a ball and repeat the process several times. The dough should feel moist but not sticky. Let the dough rest for a few minutes while you clean the work surface.
To Hand Knead:
Dust the clean work surface with a little flour. Knead the dough by pushing against it in a forward motion with the heels of your hands. Form the dough into a ball again and knead it again. Keep kneading in this forward motion until the dough becomes silky smooth. The dough is ready when you can poke or pull the dough, and it wants to snap back into place. The kneading process can take a long time, as mentioned before, even up to 40 – 50 minutes for beginners.
Even if you think you are finished kneading, knead it for an extra 10 minutes; you cannot over knead this dough. It is important to work the dough long enough to pass the pull test; otherwise, when it rests, it will collapse.
To Knead with a mixer:
Place the dough in the bowl of a heavy duty mixer. Using a dough hook, knead at medium speed for 20 minutes, adding a bit of flour if the dough starts to stick to the sides, or a little water if the ball of dough begins to crumble and fall apart. The dough is ready when you can poke or pull the dough, and it wants to snap back into place.
Double-wrap the dough in plastic wrap to ensure that it does not dry out. Let the dough rest for at least 30 minutes and up to 1 hour before rolling it through a pasta machine.
To roll out the pasta using a pasta machine, divide the dough into 4 – 6 pieces. You will roll out one piece at a time, while rolling keep the remainder covered with plastic wrap so it does not dry out. Lightly flour the machine rollers, the work surface around the machine, and the first piece of dough. Set the rollers at the widest setting. Flatten the dough into a disc, sprinkle with flour, then feed the disc into the space between the two rollers. Feed the dough through with one hand, while holding the upturned palm of your hand under the sheet emerging from the rollers. Keep your palm flat to protect the dough from punctures by your fingers.
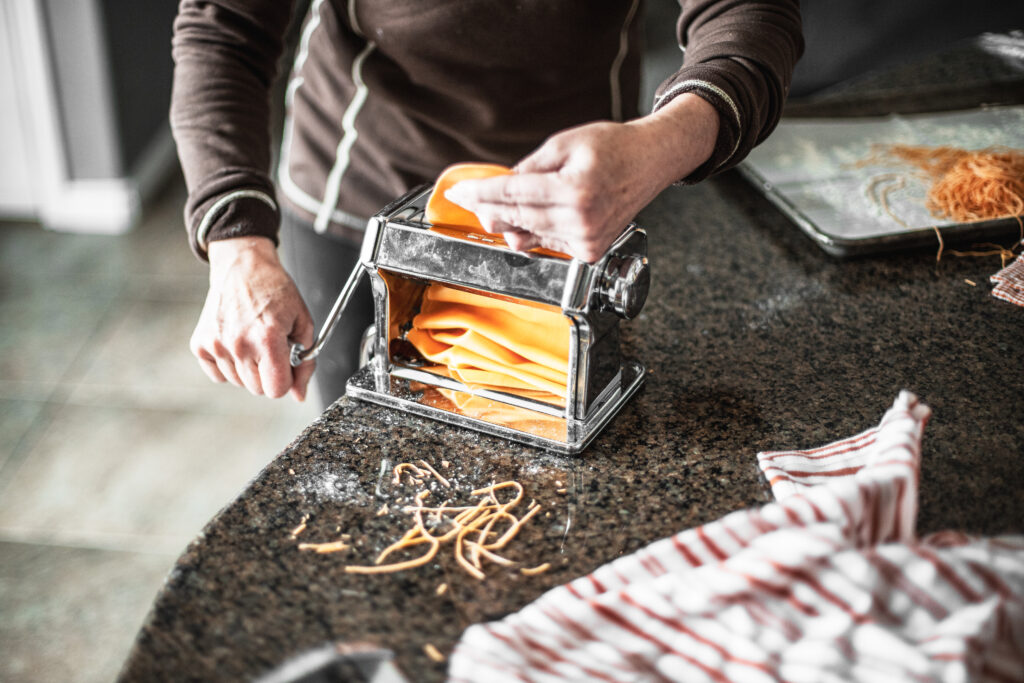
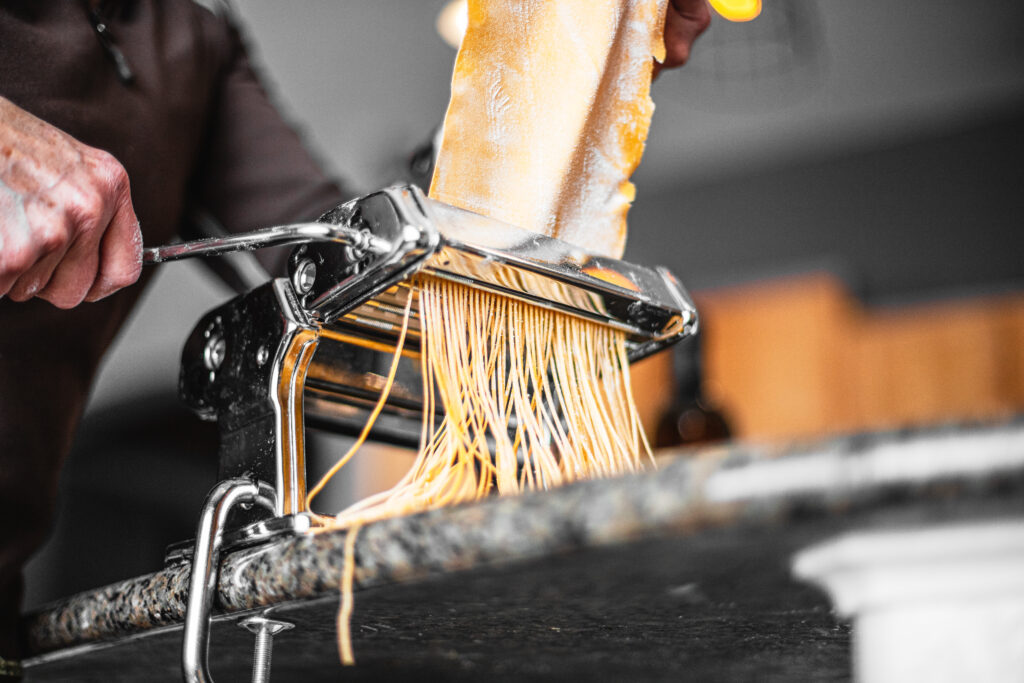
As the sheet emerges from the rollers, guide it away from the machine with your palm. Pass the dough through the rollers five to six times, folding it into thirds and flouring it each time. Then set the rollers at the next narrower setting and pass the dough through three times, folding it in half each time. Repeat, passing it through three times at each successively narrower setting. Repeated stretching and thinning builds up elasticity making especially light pasta. If the sheet becomes too long to handle comfortably, cut it in half or thirds and work the pieces in tandem.
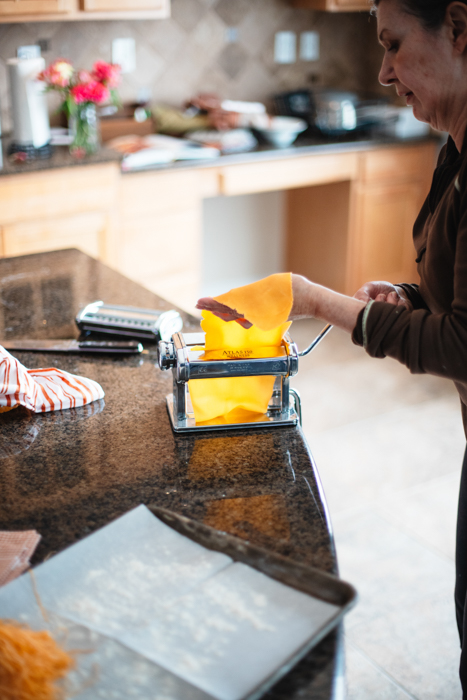
Don’t worry if at first the dough tears, has holes, is lumpy, or is very moist. Just lightly flour it by pulling the dough over the floured work surface. Take care not to overdo the flouring, or the dough may get too stiff. As you keep putting it through the rollers, it will be transformed from slightly lumpy and possibly torn to a smooth, satiny sheet with fine elasticity.
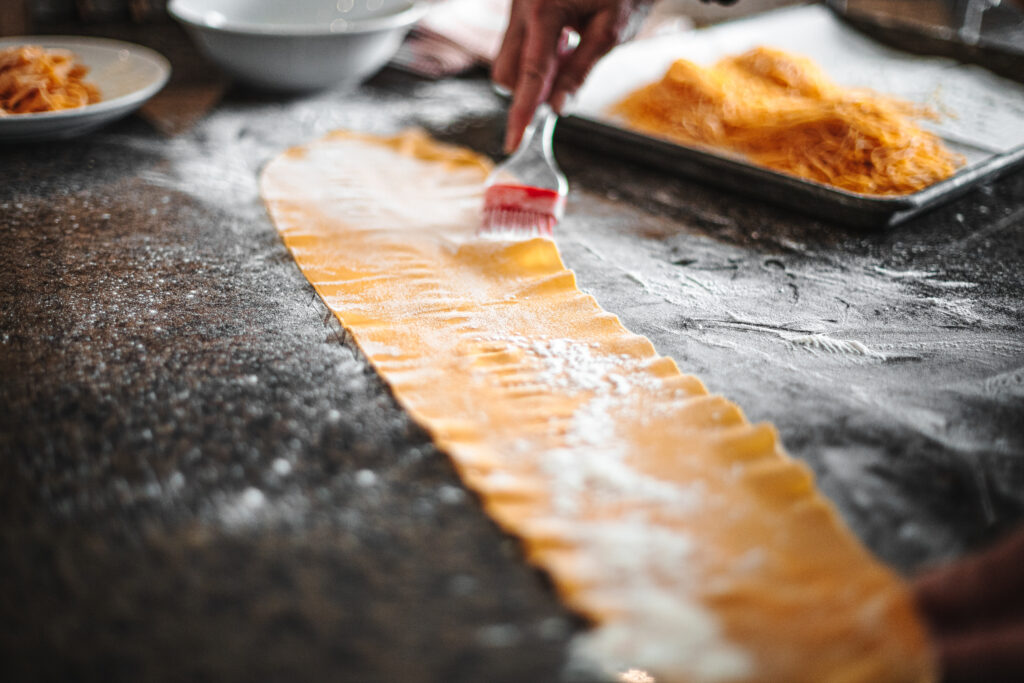
Different machines have different numbers of settings. Pasta that is cut into noodles, like tajarin, use a setting 1 or 2 down from the highest setting; my machine has a highest, or thinnest setting of 7, I stopped at 5 for the tajarin. Brush the sheet with flour.
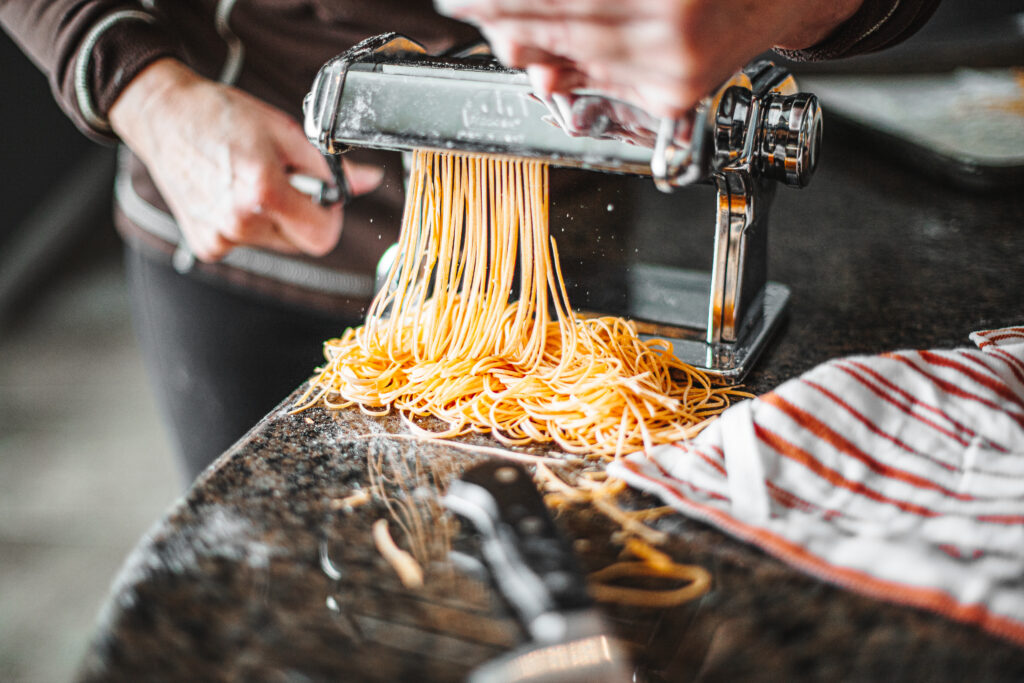
Switch to the cutting roller, and feed your sheet through to cut into narrow strips. Place on a floured sheets pan, dusting if necessary with more flour so the tajarin do not stick together. Cover with a slightly damp towel or plastic wrap while you make the sauce.
Brown Butter Sage Sauce
4 oz./1 stick unsalted butter
Small bunch of sage, leaves picked
Zest and juice of 1/2 lemon
1/2 cup chopped hazelnuts, toasted
Grated Parmiggiano-Reggiano cheese
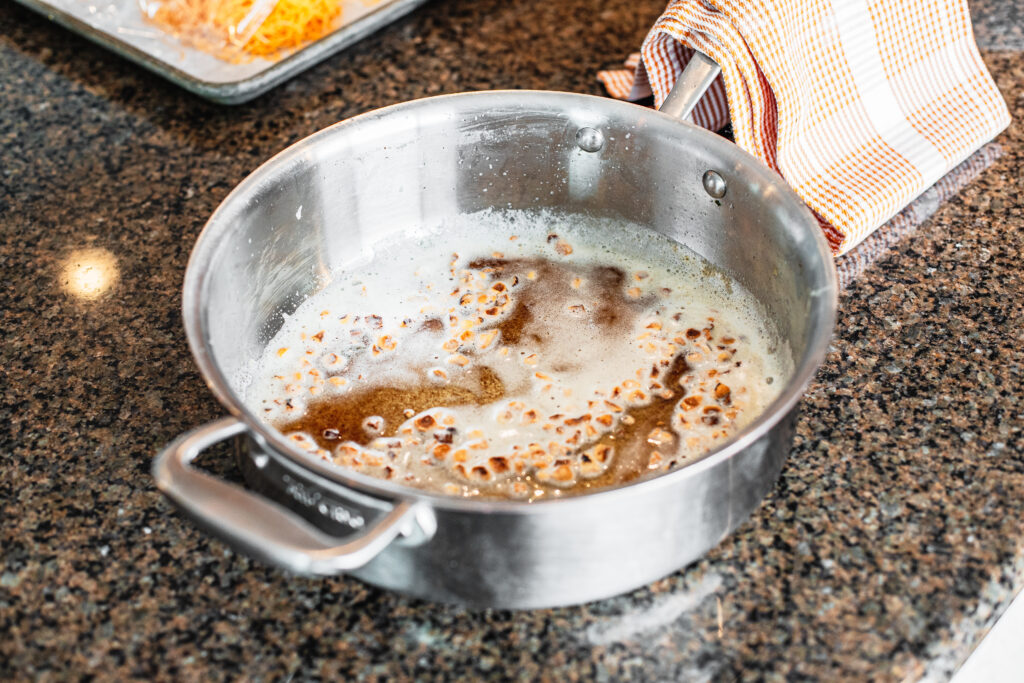
In a large saute pan, melt the butter over medium heat. Add the sage and season with salt and pepper. Cook until the sage is slightly browned and crispy. Remove the sage and set aside on a paper towel to dry.
Continue to allow the butter to cook, as it goes from white, to gold, to brown (“noisette”). When browned and displaying a nutty aroma, remove the pan from the heat.
When ready to serve, bring a large pot of salted water to a boil over high heat. Cook the tajarin until al dente, this should only be a couple of minutes. Reserve about 1 cup of the cooking water and then drain the tajarin.
Add the tajarin to the saute pan with the browned butter. Stir to mix, adding a little of the reserved cooking water to lighten up the sauce, if needed. Sprinkle the lemon zest and lemon juice over the tajarin, and toss gently to coat. Serve tajarin warm, topped with the hazelnuts, sage leaves and grated cheese.

3 Responses to Tajarin – Rich Egg Pasta from Piedmont